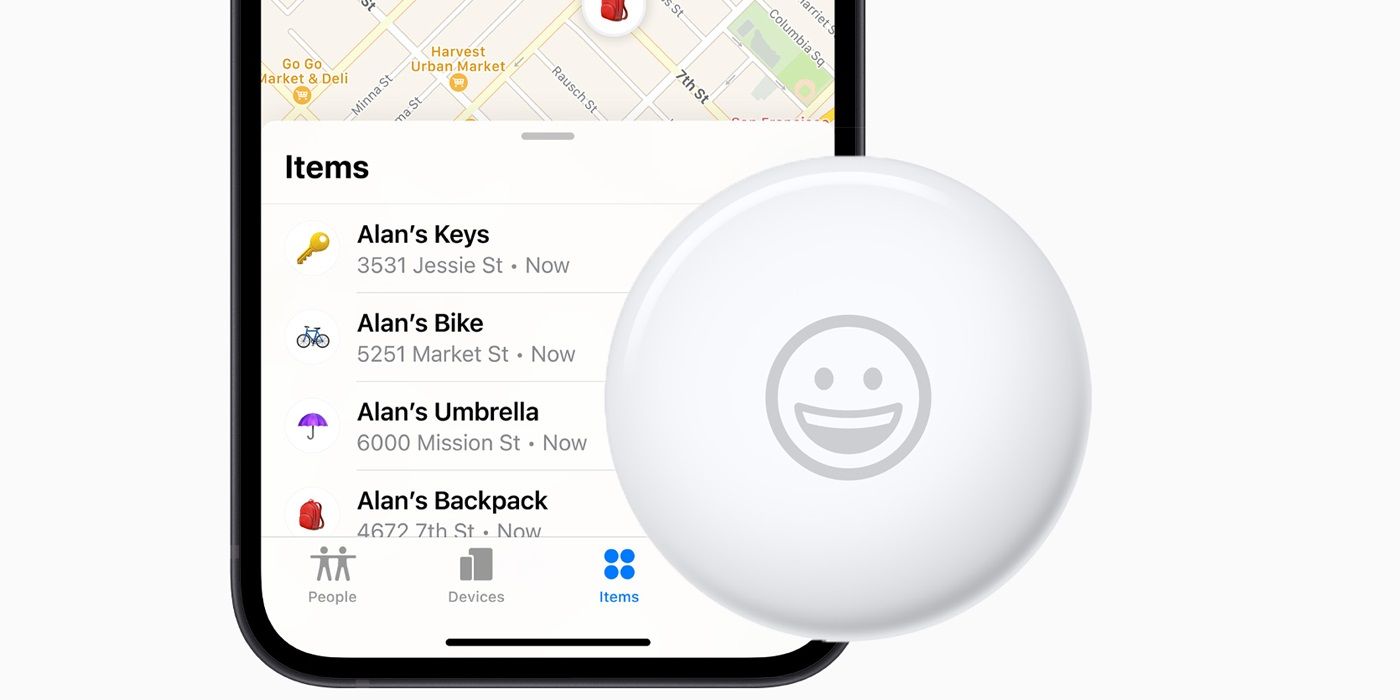
The AirTag can be a useful way to keep track of personal belongings and setting one of Apple's trackers up is fairly easy to do. However, there are some points to be aware of, including what devices it can be set up with, what settings to enable, and what to do after purchasing more than one AirTag at the same time. Here’s what you need to know before getting started with Apple’s little tracker.
Apple launched the AirTag during its April Spring Loaded event, along with updates to the iMac and iPad lines, as well as the unveiling of a new purple iPhone 12. While the small tracker had long been rumored on, it was still one of the highlights of the show and especially considering the price. At $29 apiece, an AirTag is an affordable purchase and consumers can save even more on each AirTag by purchasing a four-pack instead.
Besides the actual item tracker, the user will need to either have an iPhone running iOS 14.5 or later, or an iPad running iPadOS 14.5 or later. An iPod touch can also be used instead. In addition, Find My and Bluetooth both need to be enabled on the Apple device the AirTag will be connected to. Likewise, Location Services will need to be turned on as well, according to Apple, and this option can be found under the Privacy section of the Settings menu. In this same section, users can also turn on Location Access for Find My, if they want to take advantage of the AirTag’s Precision Finding support for the most accurate tracking experience.

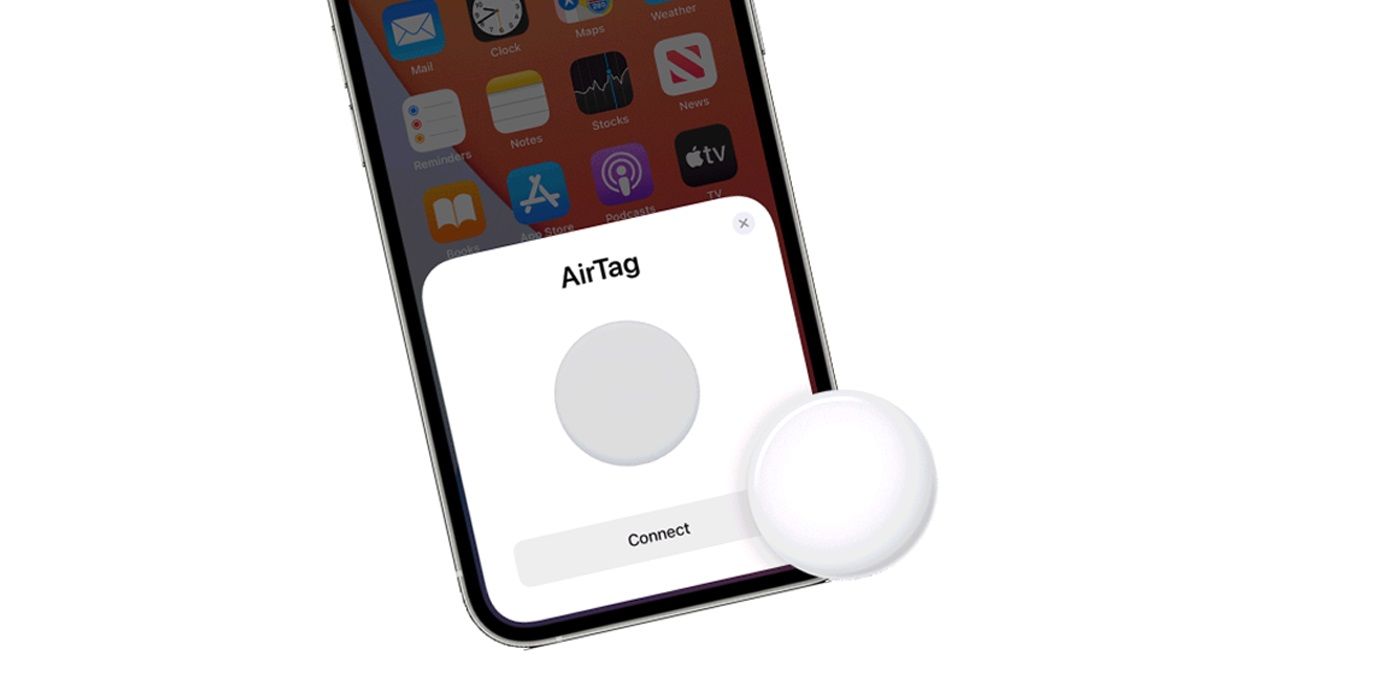
To connect an AirTag for the first time, the user will need to hold it near an iPhone, iPad or iPad touch. Once near to the Apple device, tap Connect when displayed on the screen. The user will then be able to either select a name from the list or create a custom one for the AirTag. After selecting a name, tap on Continue and register the AirTag to an Apple ID. A final tap of the Continue button will complete the setup process.
If it is a brand new AirTag then the user will need to remove the wrap and also the tab attached to the tracker. The tab disables the battery and once removed, the user will hear an audible sound confirming the AirTag is now working. In addition, if more than one AirTag is purchased, then they can only be connected one at a time. In situations where more than one is near the iPhone during the activation process, the user is likely to see a “More than one AirTag detected" message displayed. This message can be avoided by simply making sure that only one AirTag is near the iPhone at a time.
Source: Apple
from ScreenRant - Feed https://ift.tt/3aZrcuc

No comments:
Post a Comment